
 – Trailer")

 – Trailer")
 – Trailer")
")
 – Trailer")
 – Trailer")
 – Trailer")
 – Trailer")


")
")


")


How To Change Pi-hole DNS

This post contains affiliate links and we may earn a commission ( No Cost To You ) when you click and make a purchase using the affiliate links, This will help with costs and maybe buy a beer some day 🙂 Disclaimer.
This is a very simple option to change the dns of the pi-hole to IE, google, quad 9 or whatever you prefer after setting the pi-hole up, in just a few clicks you can change the dns your pi-hole uses.
Step 1: Login to your pi-holes admin page as pictured below
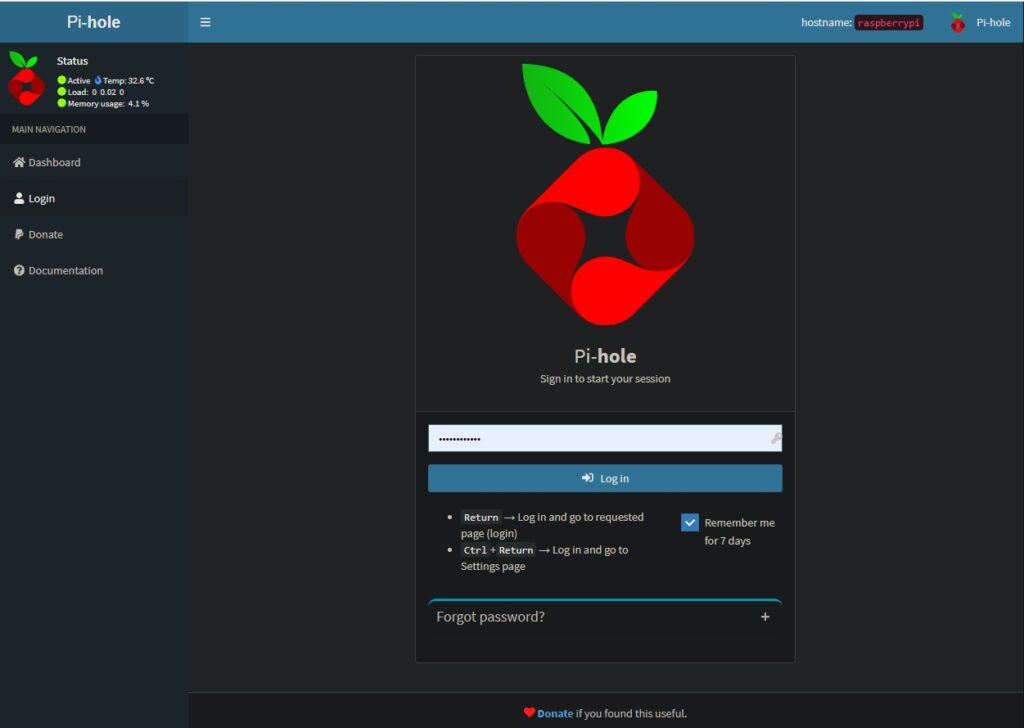
Enter your password and tick remember me for 7 days then click Log in
Step 2: click Setting in the left options list

Step 3: Click the DNS tab, then select which dns you want to use in the ipv4 list tick both boxes then scroll down and click on save
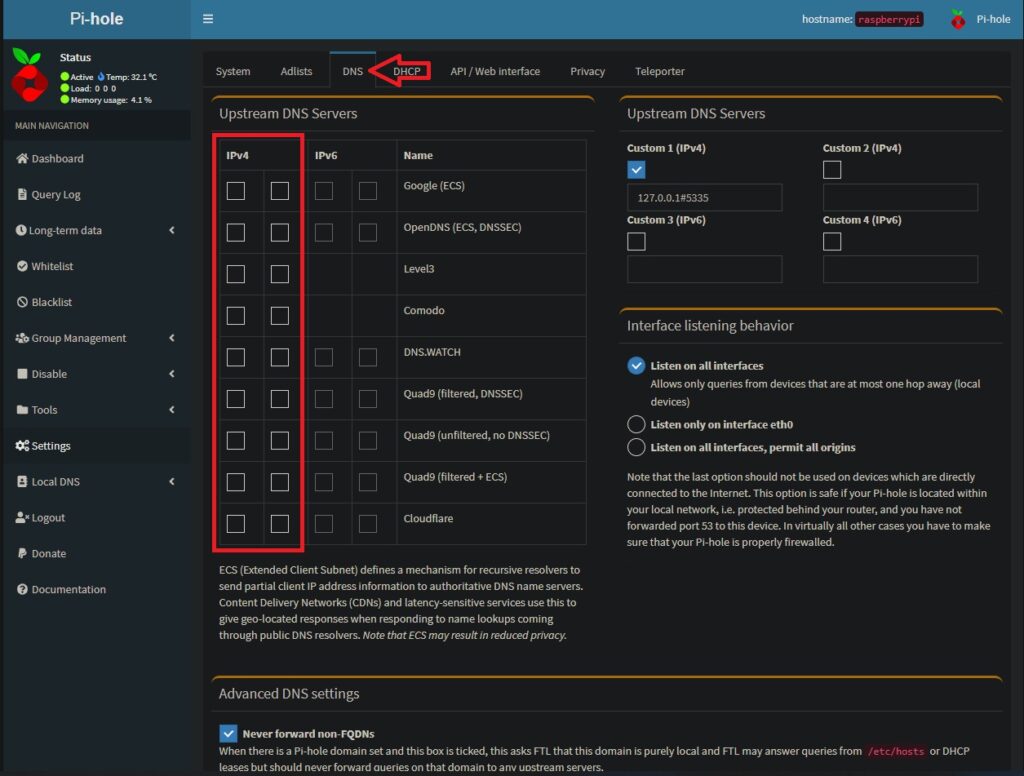
DO NOT USE THE CUSTOM 1 (ipv4) we have setup in our screenshot as this requires additional setup ( another guide to come on this ) if you setup as ours then you could lose connection to your pi.
Now you have selected and clicked save you are done ur new dns will now be used its very simple to use and setup
If you think we missed anything please leave a comment below


 – Trailer")
")


 – Trailer")
 – Trailer")
 – Trailer")
Leave a Response