
 – Trailer")

 – Trailer")
 – Trailer")
")
 – Trailer")
 – Trailer")
 – Trailer")
 – Trailer")


")
")


")


How to install No-IP on Raspberry Pi (All Versions)

This post contains affiliate links and we may earn a commission ( No Cost To You ) when you click and make a purchase using the affiliate links, This will help with costs and maybe buy a beer some day 🙂 Disclaimer.
No-Ip is a ddns service and can easily be installed and updated on the raspberry pi available for all versions as they all run the same version of raspian.
This guide is as simple as we can make it.
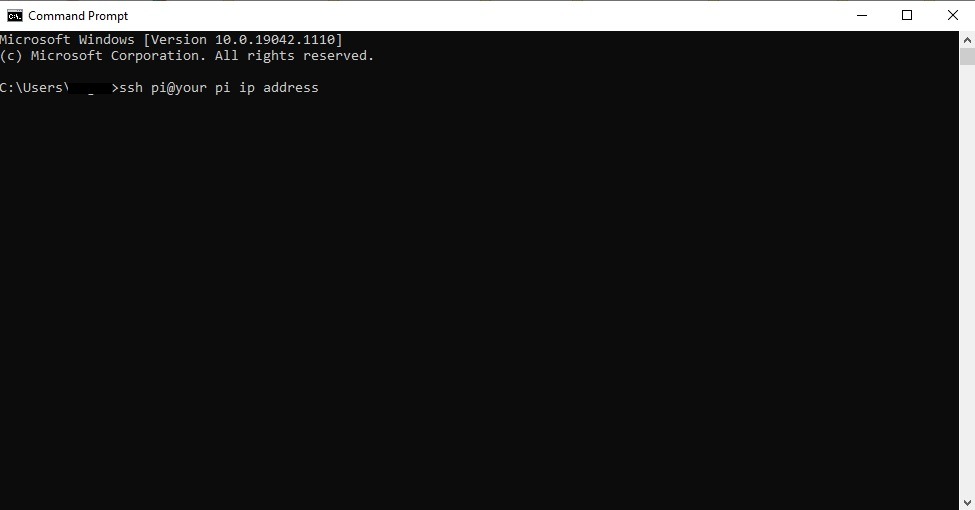
Step 1: (Win 10 users) Open a cmd window and ssh to your raspberry pi
Step 2: Once logged in type the below codes 1 at a time.
Install the script
To install the required script on your Raspberry Pi, change to the /usr/local/src/ folder:
cd /usr/local/src/
Install the script using:
sudo wget http://www.no-ip.com/client/linux/noip-duc-linux.tar.gz
Then extract the files:
sudo tar xf noip-duc-linux.tar.gz
Remove the original tar file using the following:
sudo rm noip-duc-linux.tar.gz
We now need to find out what the latest version is by doing an ls in the terminal.
Then change directory to the location as given by the latest version:
cd noip-2.1.9-1/
Now make the install by:
sudo make install
You may have to change the permissions of the folder to allow the make to work.
After the install is finished, it will automatically start the configuration, enter your username and password of the no-ip.org to finish the installation.
You should now be able to access your web site using your domain name.
Now you have the server set up, you now have to make sure it runs every time you start the Raspberry Pi which can be done as follows:
cd /etc/
Then
sudo nano rc.local
add the following line in the rc.local file to make the noip service run during startup
sudo noip2
Press ctrl-x to close the file and save the file.
Now reboot your Raspberry PI using:
sudo shutdown -r now Or sudo reboot
You should be able to access your web site using the domain name.
You can test if the noip service is running by typing the following command:
sudo noip2 -S
If you see a valid PID it means the service is running.
Check Out other raspberry pi guides
That’s all there is to this guide
If you think we missed something leave a comment below.


")
")

 – Trailer")
")


 – Trailer")
 – Trailer")
 – Trailer")
Leave a Response